- Home
- computer software
- Burn a Cd
Burn a CD using Nero burning software
Other than Windows built-in burning tool, you can burn a CD using third party software designed explicitly for this purpose. So far from my experience, Nero Burning ROM is the best in this group.
When we compare both Windows CD/DVD burning tool and other third party CD writing applications, we can easily guess that the former has many limitations. For example, you can’t make a replica for your original disk using Windows CD writer tool. Moreover, what if you want copy one disk to a number of disks; this is where the usage of CD/DVD burning software benefits you a lot.
I use Nero 2021 application to show how we can burn a CD or DVD. It is because the only burner software installed on my computer. I can’t deny that Nero Burning ROM has many features that will help you to burn Movie, Music, MP3 and even compiling your photo album and photo slides.
You can download and try it before purchasing it.
Here are the steps to burn a cd data using Nero
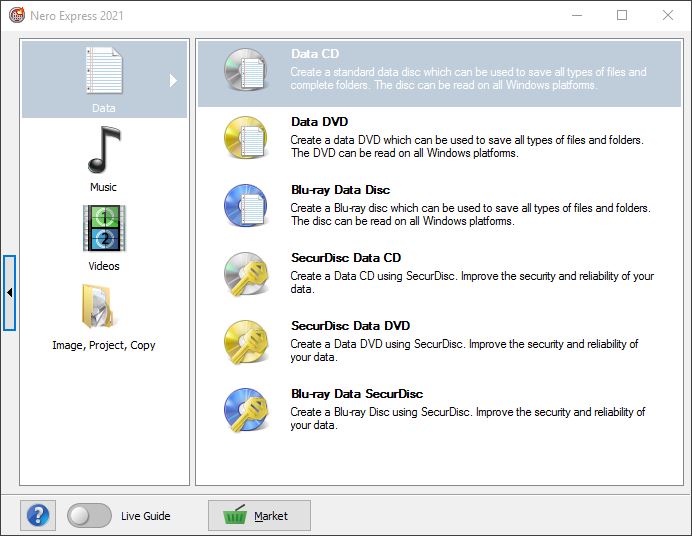
1. When we open Nero Express 2021 the following screen show up. As you can see in this screen, you can choose the type of data you are going to burn: Data CD, Data DVD, Blu-ray Data Disc and Secure Data CD, DVD and Blu-ray.
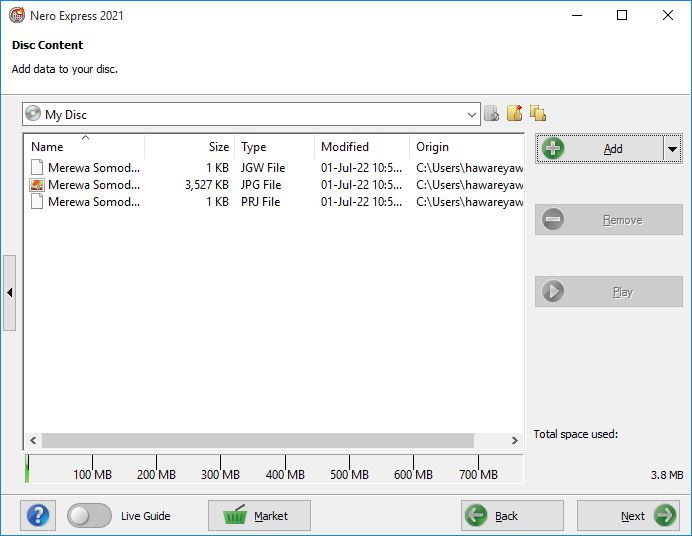
2. Now for this guide we will burn data disc, click ‘Data CD’ to start the process. The following screen opens to let you add files from your computer hard disk to a CD. Click on ‘Add’ button to choose the files from your original place. When you add files, Nero tells the total space used and how much left (See ruler like guide under the white space. Green color shows the added files size).
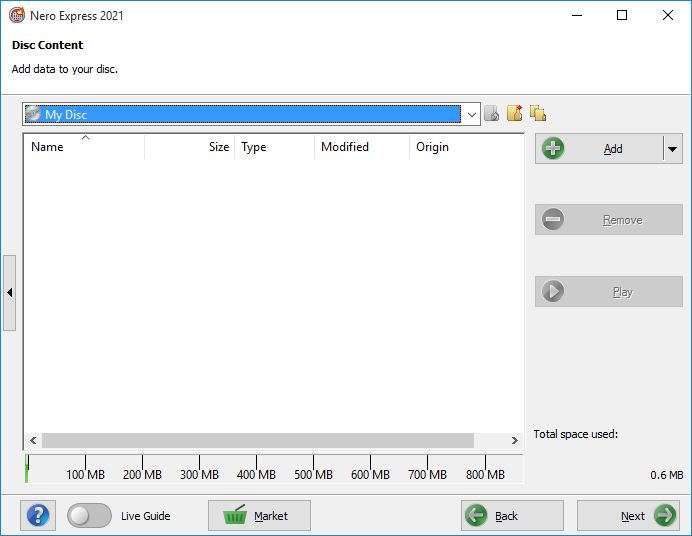
You can see that if you use CD-R the maximum limit is 700MB. Note the yellow line on 700MB. If you bypass the yellow line, the green changed into red color which indicates that you are bypassing the total disk size.
3. This will bring us to the Final Burn Settings as shown below. You can choose the current recorder. You can burn the files to a CD or save it as an image on your hard drive and burn it later on.
Give your disc a descriptive name and decide the number of copies.
As you can see, there are two additional features: verifying your data and multisession
If you check the box, Nero can verify the readability and integrity of the data on disk after burning. For now, you may not use the whole space on the disk; if you want to use the remaining space later on, you can add files and burn a cd again. However, you must check the box to enable the multisession disc feature. Otherwise, you can’t add additional files. This will save you from unnecessary CD consumption.
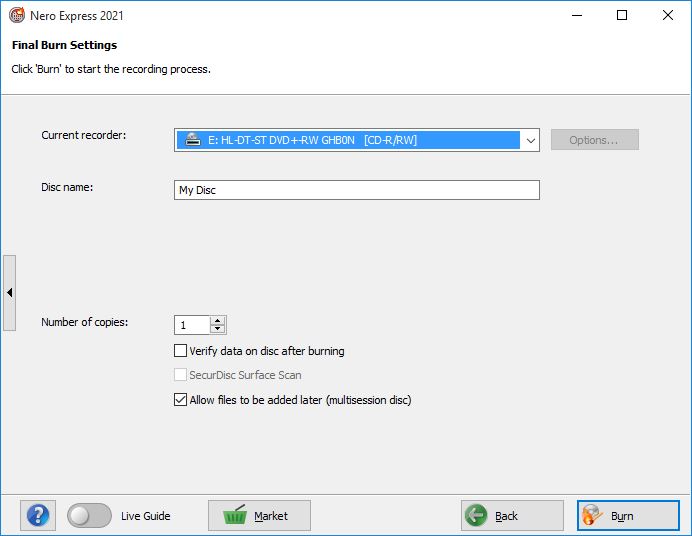
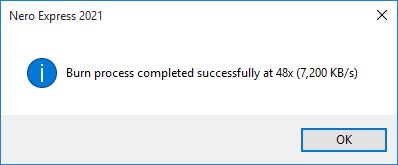
4. Now all are set, click ‘Burn’ to start the burning process. While burning, Nero tells the Total time needed to burn and the writing speed. Usually, the slower the speed means the better the integrity and readability of Data on the disk.
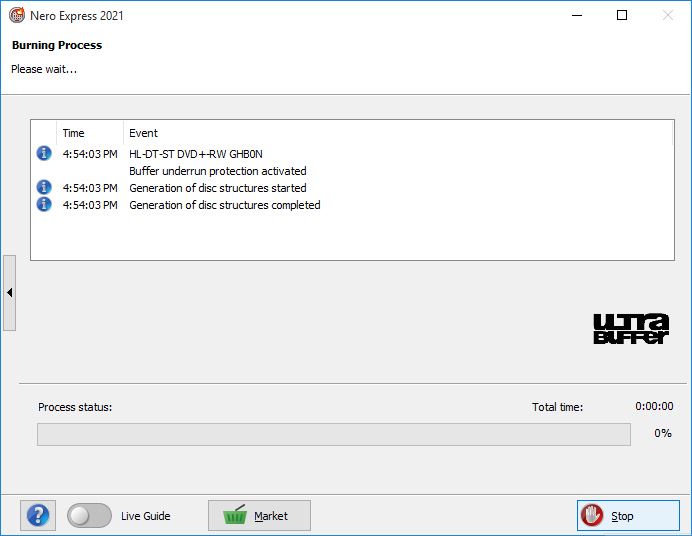
Finally, the writer will eject the CD upon completing the burning process.
This is a typical setting you may find in other burning programs as well. If you have Nero installed on your PC, you can research additional features incorporated with this tool. I believe that this tutorial will help to understand how you can burn your data to a CD, DVD or Blu-ray disks.
Recent Articles
-
28 best free CAD software | drafting software for Windows, Mac & Linux
Dec 08, 23 09:14 AM
 Here is a list of best free cad software that work like AutoCAD. You draw, design and open autoca cad files
 -
19 best free home design software (completely free 2023)
Dec 08, 23 09:01 AM
 Here is a list of best free home design software for planning a room layout, design and visualizing your design in 3D.
 -
What is computer software?
Dec 08, 23 08:58 AM
What is computer software? This article will answer this question. What are the main groups of computer software.
